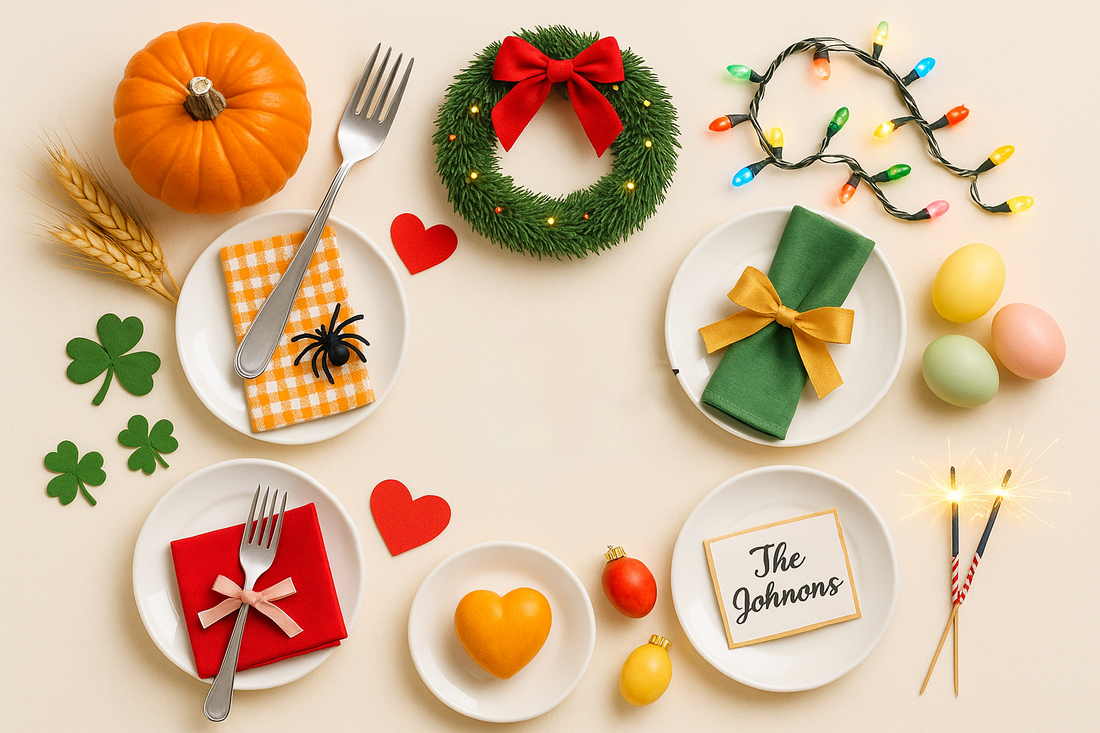
From Spooky Nights to Snowy Lights: A Simple Guide to Planning Holiday Parties All Year
Share
Why plan by “season windows”
Instead of starting from scratch each time, keep a simple rhythm: Prep (T-4 weeks) → Build (T-2 weeks) → Final touches (T-3 days). Repeating this window keeps costs down and lets you reuse the same storage bins, checklists, and décor bases.
The 3-bin method (works for every holiday)
-
Bin 1: Always-on basics — neutral tableware, plain runners, clear vases, fairy lights.
-
Bin 2: Color overlays — napkins, candles, ribbons in seasonal colors.
-
Bin 3: Spotlight items — the “wow”: a themed banner, centerpiece, or door décor.
T-4 weeks: Theme & list
-
Pick your palette (2 main + 1 accent).
-
Decide guest count and space (living room, patio, dining).
-
Make a short list: must-have décor, 1 activity, 1 food focal point.
T-2 weeks: Build your kit
-
Combine basics + overlays + spotlight.
-
Add one personalized touch (name tags, ornament with date, printed sign).
-
Confirm serving plan: buffet vs. stations; label allergens.
T-3 days: Final touches
-
Set the table dry-run (photos help you repeat it).
-
Place a welcome sign near the entrance.
-
Prep a small kids’ corner (coloring sheets, puzzles).
Palettes you can’t miss
-
Halloween: Pumpkin + Grape + Midnight
-
Thanksgiving: Copper + Sage + Cream
-
Christmas: Pine + Cranberry + Gold
-
Valentine’s: Candy + Blush + Ink
Budget savers
-
Use reversible runners.
-
Buy multi-holiday string lights.
-
Frame printable signs and swap the print.
Quick checklist (print this)
-
Theme & palette • Guest count • Serving plan
-
Table runner + overlay • Centerpiece • Entry sign
-
Lighting • Music • Trash/recycle plan • Take-home favor
Ready to build your kit? Shop Now
